Showing posts with label home decor. Show all posts

01 December 2017

Gift Guide for Farmhouse Decor Friends

Who doesn't love Chip and Joanna Gaines, Shiplap, subway tile and a good magnolia wreath? 


Most homes today have a touch of Farmhouse look/decor to them. Here are my top pics for the Farmhouse at heart friends!


15 November 2017

Oh Snap!

About 2 weeks ago I did a huge instastory on instagram on hookless shower curtains. 
My apologies for not getting a blog post up on this sooner, but new mom and all my little one had my hands full quite literally! 


So if you recall, I mentioned that when we moved from AZ to OH we went from having glass shower doors back to having shower curtains in our bathrooms in our new home. As a new mom, every second of my "free" time is usually spent trying to play catch up on housework! One of those daily chores for me is keeping a clean bathroom. I was actually dreading having to unhook all the hooks from the curtain in the bathroom to wash the liner. In Ohio, mold can grow quickly from high moisture collection from not being able to dry fast enough. This was never an issue in the dry desert of Arizona let me tell you! Anyway, I literally groaned at having to spend 15 plus minutes unhooking the dang curtain and separating the liner from the curtain. 


Insert Hookless shower curtains! So the previous owner left us two brand new shower curtains which happened to be hookless! that's right! I was able to unsnap the liner in a matter of 2 minutes or less and throw them in the wash! I couldn't believe how effortless it was! Of course I was kicking myself saying gah, why didn't I think of something so simple to invent! Seriously game changer if you are a busy mom like me who doesn't want to spend more minutes than necessary cleaning! 

I have linked a few options above! 


Or you can click here or here! or here


I hope this helps all of you who sent me messages asking about it! :) 


22 June 2015

For the love of Burlap

When hubby and I got married in 2012, I put on my wedding registry this adorable burlap monogram print. The print came from a seller on Etsy of course that custom made burlap prints for $20-$25 for an 8x10 sized print. 

Since then, I've had some time for once to actually try out little art projects for our home, rather than for my students or teaching related stuff! 

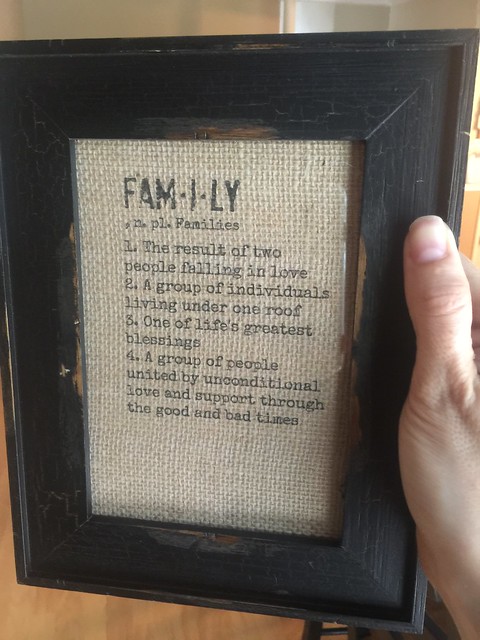
I did a little research and attempted my own burlap print. I am happy that it turned out just marvelous! 

Here's what you need:

There are 2 ways to do this-- the first way I attempted it had a few more steps involved.
  • IRON
  • BURLAP (cut to fit the size of your printer)
  • SCISSORS
  • FREEZER PAPER
  • INKJET PRINTER
  • YOUR IMAGE OR TEXT you want to print via from your computer!

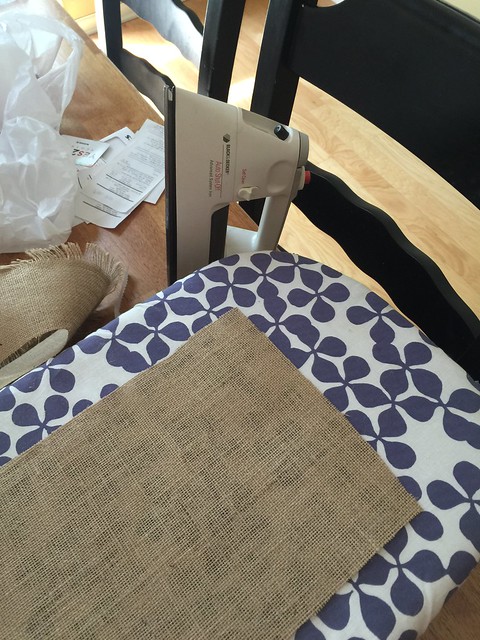
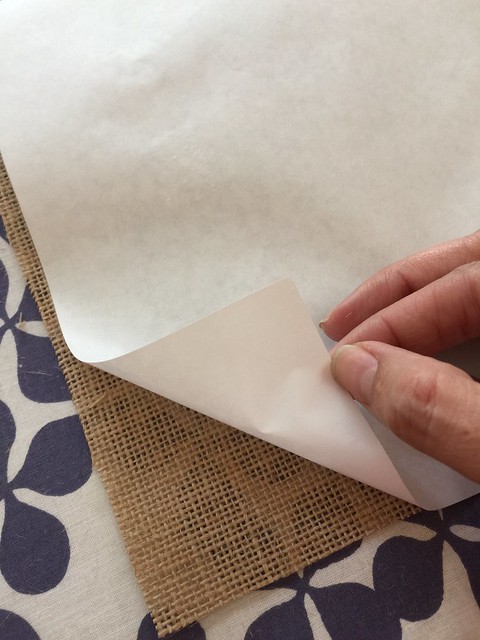
Take your iron and iron the freezer paper to the burlap SHINEY SIDE DOWN on the burlap. 
Go over it a few times your main concentration should be around the edges. 
IMG_7919

IMG_7920


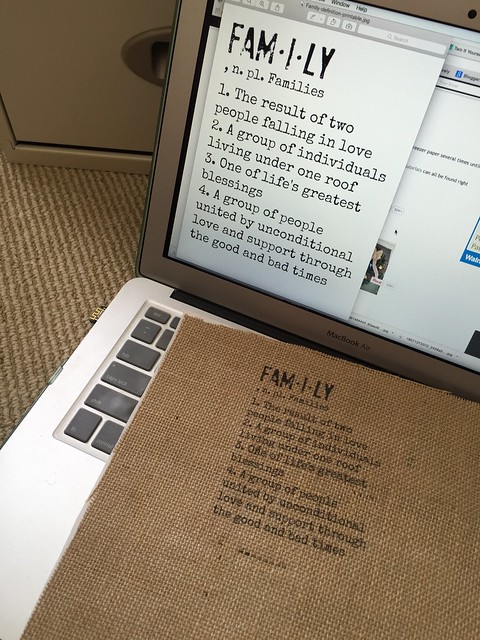
Place your burlap into your printer. This is the only tricky part because everyone's printers are different and feed differently. I had to put my burlap face down to get it to print the right side up! Do a test sheet on regular paper to get an idea of which way you need to load the burlap. 

IMG_7921
IMG_7924


Don't be nervous about putting the burlap in the printer. So long as you don't have any frayed edges you'll be fine! 

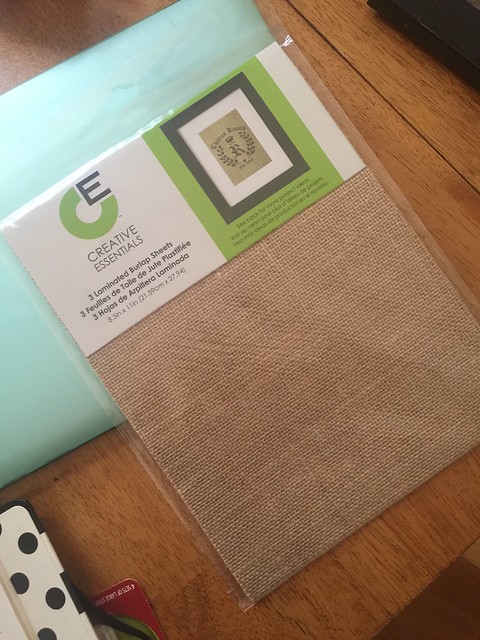
The other way you can do this project is buy buying pre cut burlap from walmart. They only give you 3 sheets per pack for around 3 dollars a pack. Ideally, this is the way to go. No iron or freezer paper needed as the burlap is already coated for the printer. 

IMG_7961

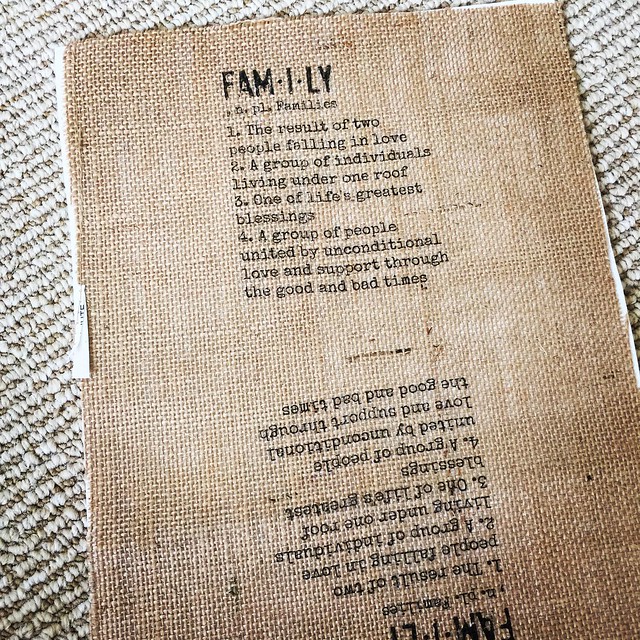
And the final results turn out like this! 

IMG_7962
Adding this beauty to our gallery wall! 


18 August 2013

While the husband's away...

Every time my husband goes out of town, I always seem to come up with little projects to do around our house while he's away. This weekend I did a pretty simple one. And one that didn't cost me a ton of money either. Score!

As I have mentioned before, I've been hard at work trying to get our "family" room to feel more homey, and of course this takes time, even years. I had pinned this pin

IMG_1303
on pinterest some time ago, and finally found the perfect "find" I had been searching for this weekend at a Salvage Antique shop!


IMG_1274

There is a place in Phoenix called "Sweet Salvage" that I found out via someone I follow on instagram who lives pretty close to me in the Phoenix area. A friend of mine is really into vintage antique finds so I knew she'd be perfect to ask to go with me to check this place out!

IMG_1279


What you'll need to do this:

Drill


IMG_1297


Screws
IMG_1295


Mod Podge (outdoor kind not gloss not paper kind this kind has a green label on it) (I got mine from Michaels)


IMG_1290
Handle Hardware (I got mine from Hobby Lobby)

Okay so first I put the mod podge inside the crate. Why did I do this? Well, the crate is being used to store blankets, and since the crate is very old, antique, I didn't want my blankets to get dirty, so I sealed the inside with the Outdoor Mod Podge. Worked like a charm. No more dirty inside.

Next, drilled the holes with my drill of where the handle hardware needed to go. Switched out the drill to screw driver and used the drill to screw in the screws. Screws were from Home Depot and only costed a dollar for the pack of 6.

And here's the final product!

IMG_1293

IMG_1301

IMG_1308

IMG_1305

IMG_1300
The wall behind the TV is my biggest "challenge"for this room. I honestly don't know what to put there. It's just awkward in terms of the space and what to specifically put there!
IMG_1306
I scored this little lantern from Hobby Lobby and got one of those flameless candles to stick in side. It was a perfect color match to our accent pillows which is called a "Sea foam green." Sea Foam green has not been an easy color to match! :) 
IMG_1292

22 July 2013

Decorating Decisions

In a few short weeks, it will be one year of living in our first home together. With that being said, we haven't done much decorating as many of you home owners know, when you buy your first home, you kinda sink every penny you have into your house.

The hubby and I spend a lot of time in our family room and it's the one room I really really want semi done (decorated). This has been such a challenge since we sold our old entertainment center, our old couch, basically all our old decor! Who knew starting over would be so hard!?


It all started with me seeing these chairs and HomeGoods.

e01aae16e8f011e2822b22000a1f901c_7
I had been talking to my stepmom about the challenge I felt with this room and she was recommending how we need a statement piece for our living room. Well when we made it to CO last weekend, I showed her these chairs and she said Yes, those are exactly what you need! I actually called HomeGoods in AZ all the way from CO to see if the chairs were still there. Sadly a man on the phone told me no, they were already gone. I was bummed. I finally had the hubby convinced with the coaching of my stepmom that these would be great and then poof they weren't available anymore.

Well on the day we got back to AZ, and picked up Aspen from boarding, I told the hubby that I Just had to stop in to HomeGoods (right next to our petsmart) just to see for myself if the chairs were in fact really gone.

Those exact chairs were gone, but in their exact spot where two chairs same pattern but a little bit wider! I was jumping for joy! Ran out to our car, told the hubby, he said okay, and then I got to bring these home with me a few days later! 

securedownload
I hate that the I phone takes crappy pictures inside and whenever I photograph anything black it always looks snowy. Does this happen to anyone else? booo.

securedownload-2

securedownload-1


I like these accent pillows for our couch from Etsy. 
Screen Shot 2013-07-20 at 6.14.49 PM
I'd like to find some oblong pillows for the chevron chairs but so far no luck. How many pillows and how many different designs should one have on a couch anyway? I don't think 3 is enough for the whole couch, perfect for one side of the couch, but what about the other side? The exact same 3 pillows down at the other end? I need some pointers!

I really love this lamp from Potterybarn, but it's a little to expensive.
e0d62297df0a09b3c558ee0e34aff61d

 It's on sale and still a little to much budget wise, and it's on back order till NOVEMBER. Would any of you wait that long to get a lamp?

Well if any if you have any decor tips or see anything online going with this theme of mine, do let me know! :)  


03 June 2013

The Shoe Debacle

So last week or so, I posted a pic of the hubs putting together a shoe cabinet. Thought I'd share the final result!

DSC_0374

DSC_0376


So the hubs and I have gone round and round about "drilling" holes into the wall. He was completely against it, and I knew he had a point. I mean, what if I needed to move this down the line? I'd have two ugly holes in the wall from mounting this in the wall for weight support.


DSC_0377

DSC_0378

Solution?  Double stick Scotch picture frame tape. This stuff is legit! I bought a whole pack and adhered it to the back of this cabinet, and it totally holds not only the cabinet up, but all the shoes in it with the weight and all! :) Score! Happy husband with no holes in the wall and happy wife with more floor space in our closet!


DSC_0379

DSC_0380


DSC_0381

I don't like having all my jewelry on display on top dressers and bathroom counters and such. Less is more in my eyes! :) So I hide all my girl jewelry clutter in this drawer! 
I tried to re-create Katie's acrylic organizers but they didn't lay flat on top of the dresser right and I didn't like that, so in the drawer they went. I really liked the gold dot paper I found at Michaels that line the trays for organization!


DSC_0382

DSC_0383

DSC_0384


DSC_0385
I've been on a mission finding the perfect accent pieces for the top of the cabinet. 
It's a work in progress. There aren't many pins on Pinterest if you search dresser decor or night stand accents! 


Photobucket

01 January 2013

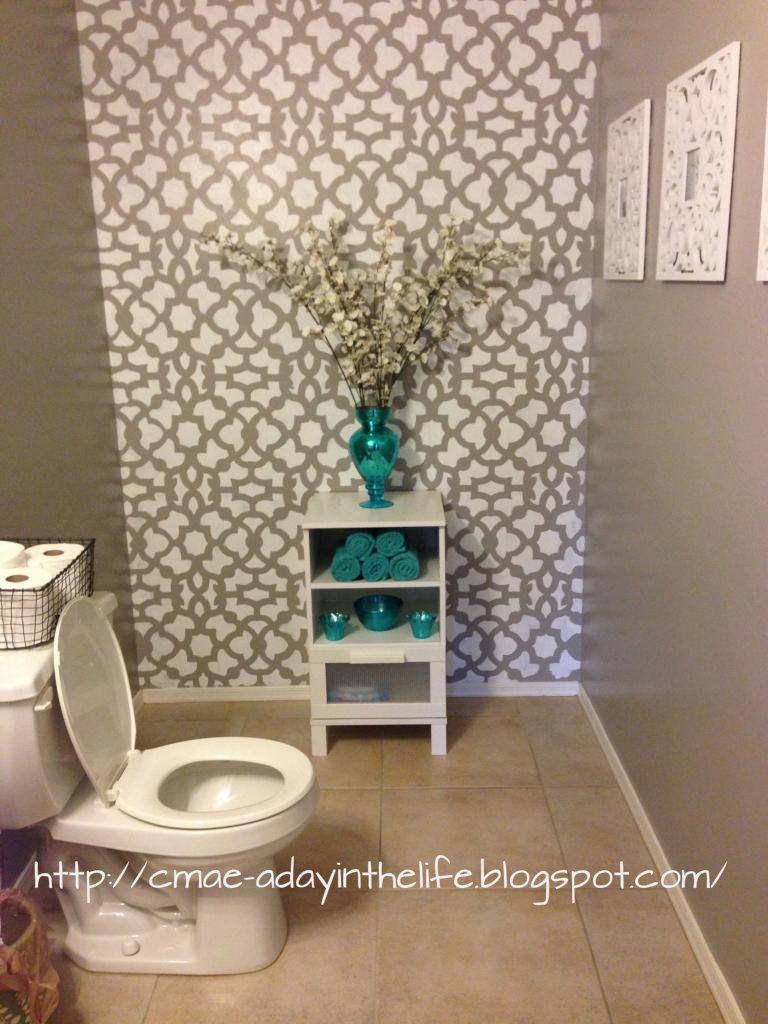
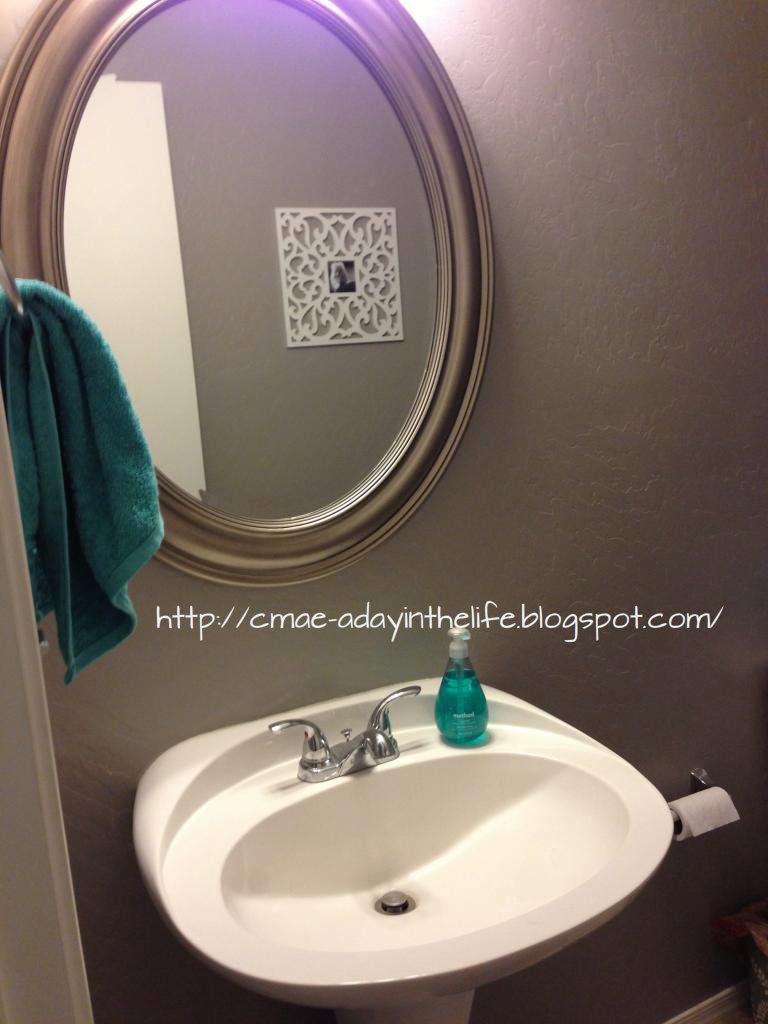
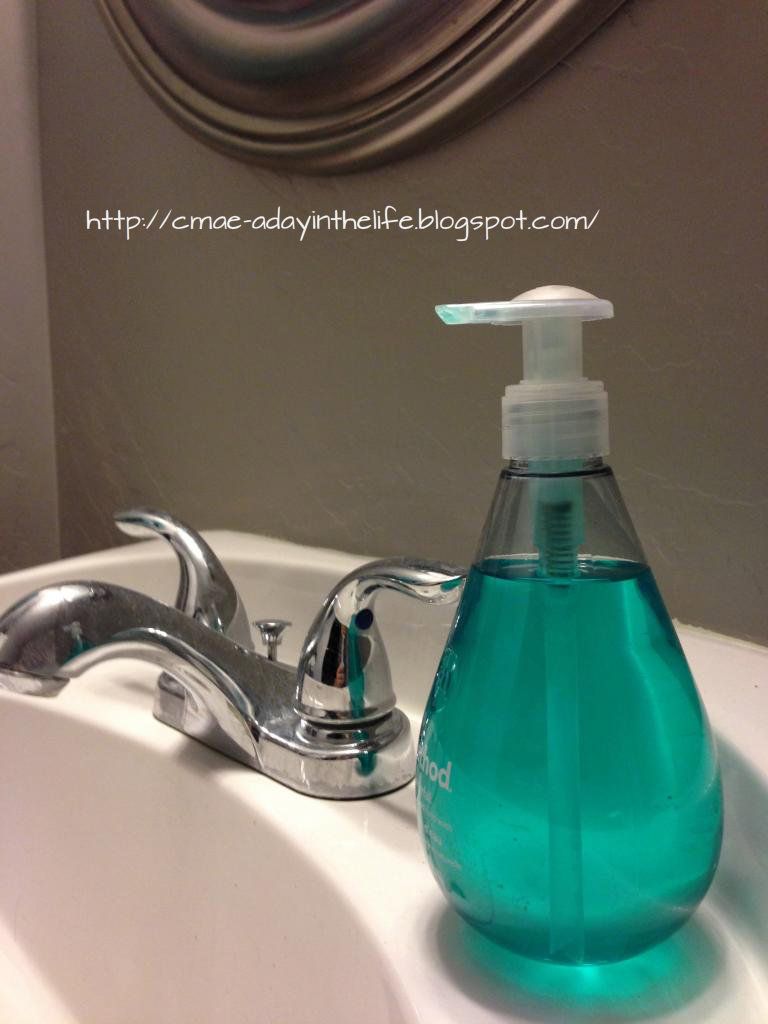
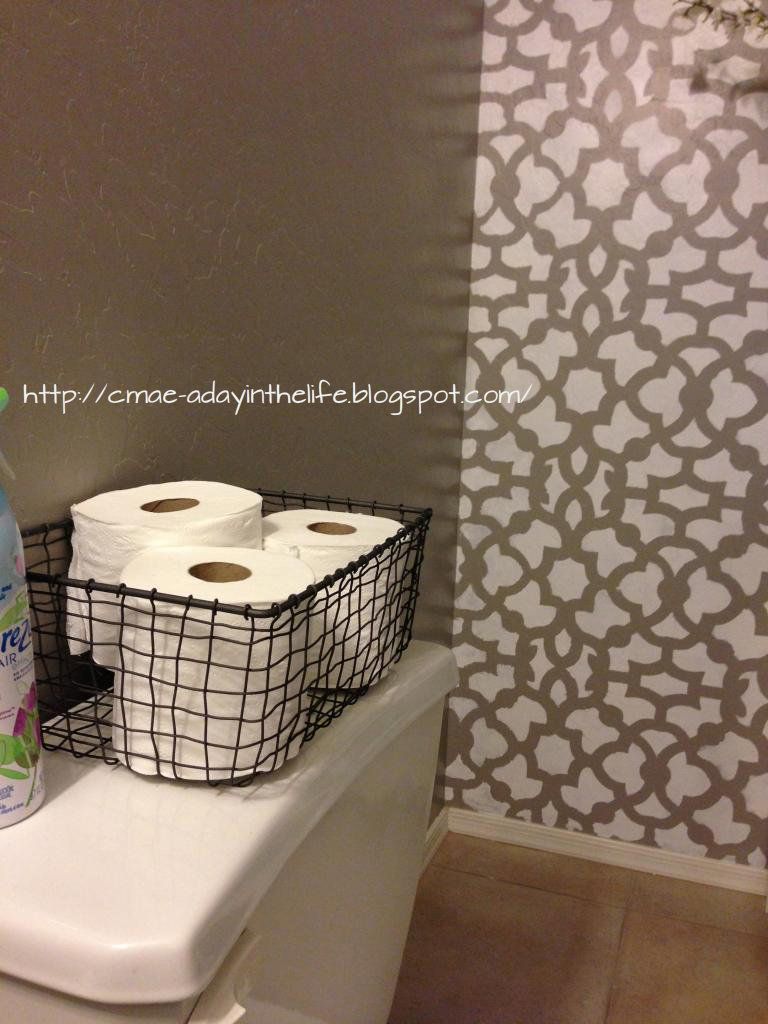
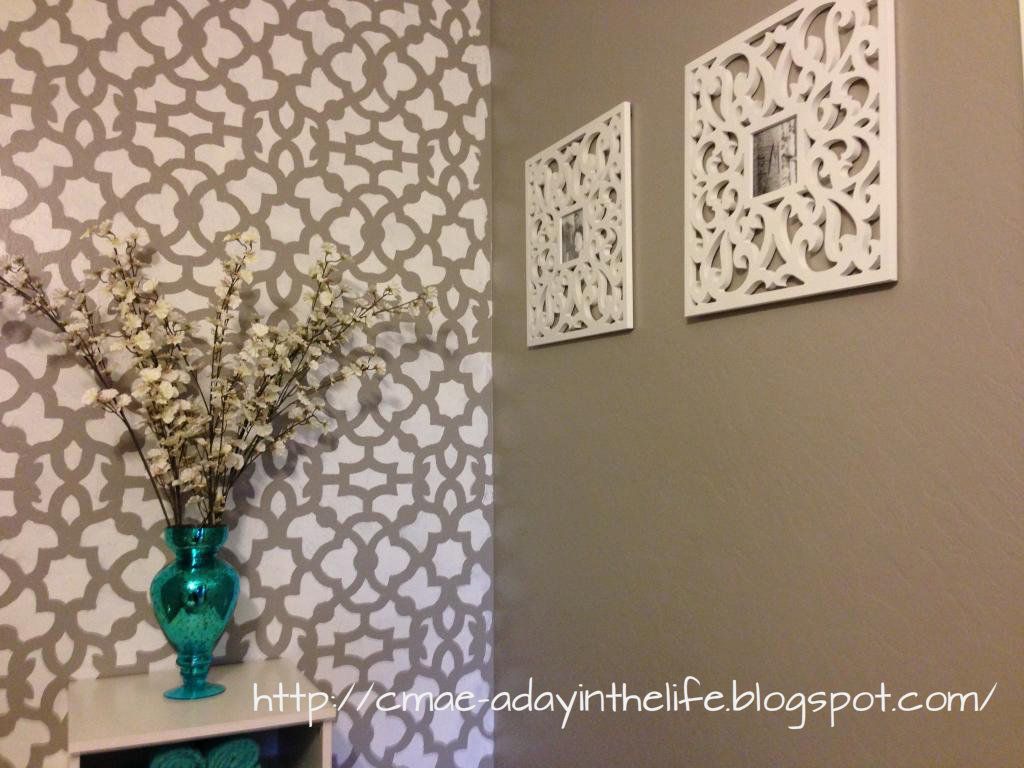
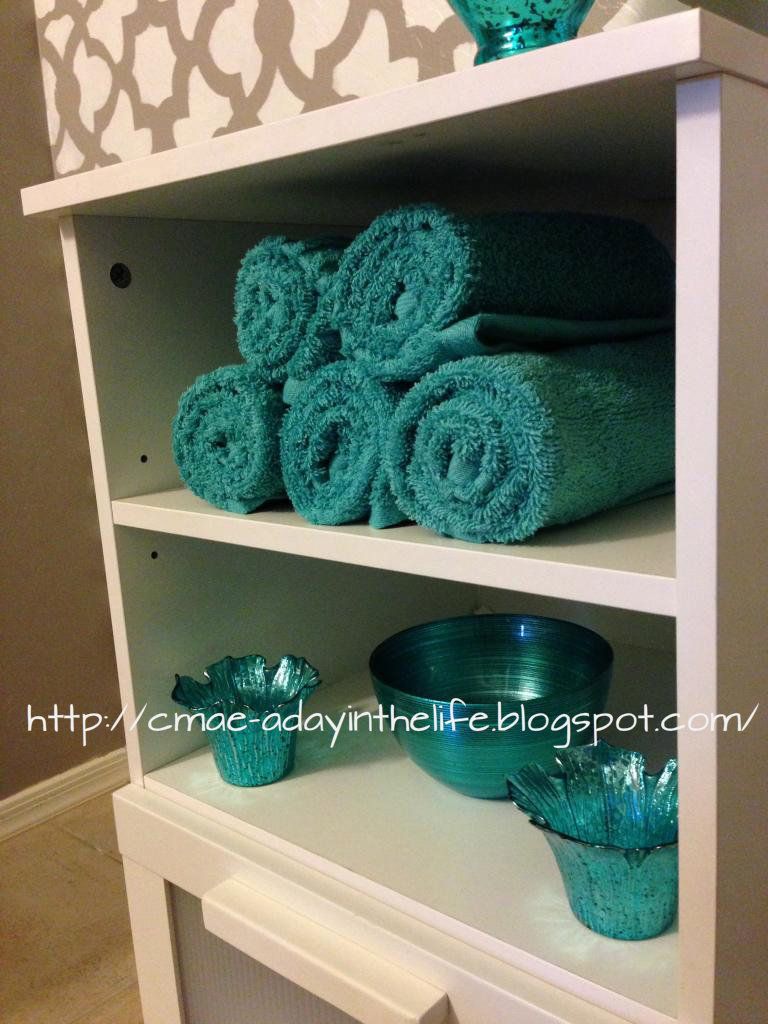
Bathroom Make Over Complete!

I finally completed our down stairs power room! After all the rug controversy, I opted NOT to have a run on the floor. It was just to dang hard to match.

Here's the final result!


Photobucket

Blogger template designed By The Sunday Studio.